Taking Screen Recordings with adb
It is possible to take a screen recording of your Android application with Android Debug Bridge (adb) using the screenrecord command.
Basic Usage
- Connect your computer with an Android device via USB debugging or wireless debugging.
- Open a terminal in your computer and run this command.
adb shell screenrecord sdcard/my-screen-recording.mp4 - This command will take a screen recording of your connected Android device and save it as an MPEG-4 file named
my-screen-recording.mp4in your Internal Storage. If there is already a file with that name, the file will be overwritten. - To stop the recording, simply press Control+C on the command. By default, the recording will stop automatically after 3 minutes.
View screenrecord Documentation
To learn what you can do with screenrecord, run this command:
adb shell screenrecord --help
# OR
adb shell screenrecord -h
You will get result similar to this:
$ adb shell screenrecord -h
Usage: screenrecord [options] <filename>

Android screenrecord v1.3.  Records the device's display to a .mp4 file.

Options:
--size WIDTHxHEIGHT
    Set the video size, e.g. "1280x720".  Default is the device's main
    display resolution (if supported), 1280x720 if not.  For best results,
    use a size supported by the AVC encoder.
--bit-rate RATE
    Set the video bit rate, in bits per second.  Value may be specified as
    bits or megabits, e.g. '4000000' is equivalent to '4M'.  Default 20Mbps.
--bugreport
    Add additional information, such as a timestamp overlay, that is helpful
    in videos captured to illustrate bugs.
--time-limit TIME
    Set the maximum recording time, in seconds.  Default / maximum is 180.
--display-id ID
    specify the physical display ID to record. Default is the primary display.
    see "dumpsys SurfaceFlinger --display-id" for valid display IDs.
--verbose
    Display interesting information on stdout.
--help
    Show this message.

Recording continues until Ctrl-C is hit or the time limit is reached.
Notice that there are several screen recording common options that you can customize:
- The video size,
- The bit rate, and
- The time limit.
Using Bug Report Flag
If --bugreport flag is present in the command you run, the video produced will have additional information that might be useful for debugging.
The first frame of the video will contain information of the screen recording and the device:
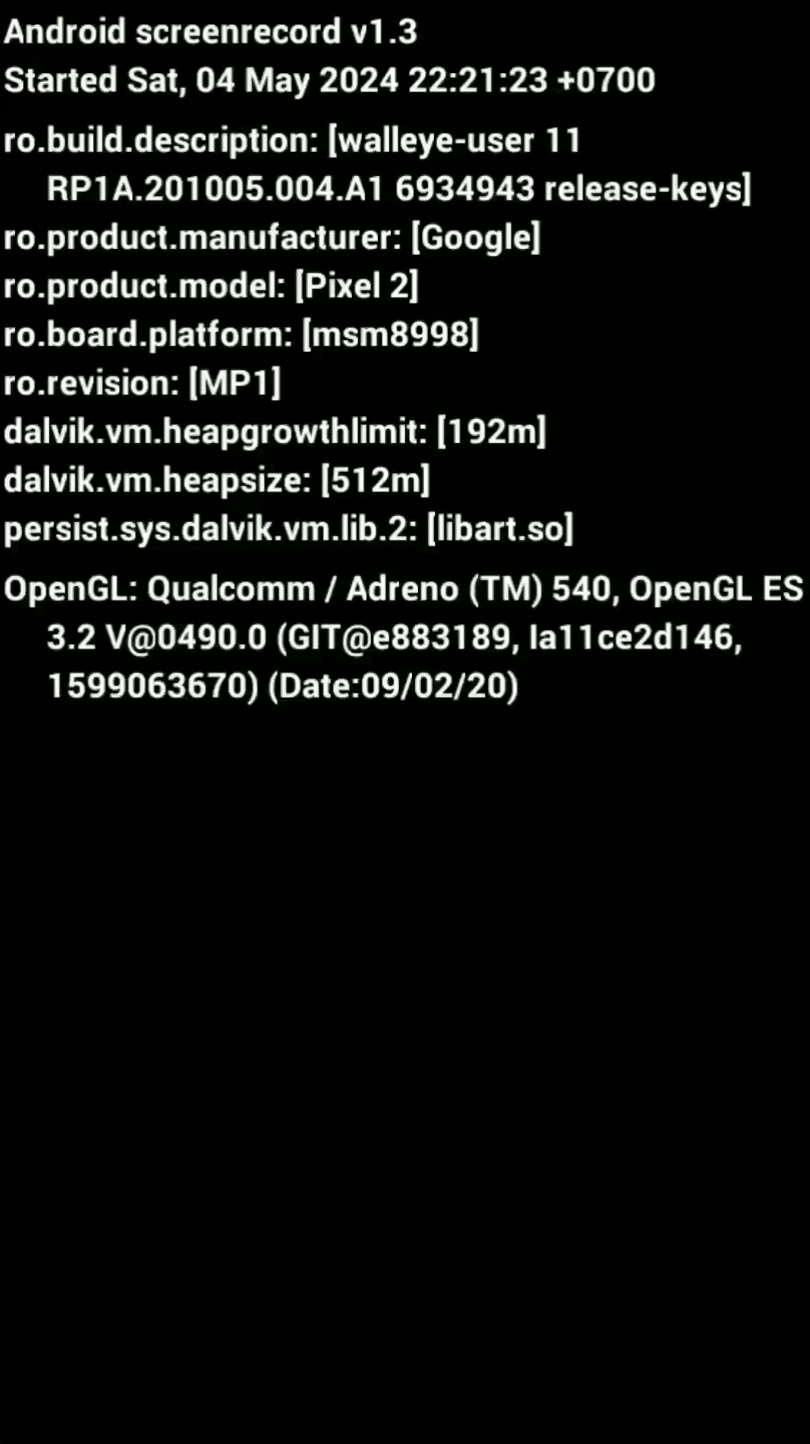
And the following frames will contain a timestamp overlay at the top of the screen:

Multiple Connected Devices
If your computer is connected to multiple devices, you will encounter a problem when running the above command:
$ adb shell screenrecord sdcard/my-screen-recording.mp4
adb: more than one device/emulator
You need to specify which device you want to take a screen recording of. First find out the serial number of the device by running adb devices:
$ adb devices
List of devices attached
emulator-5556 device product:sdk_google_phone_x86_64 model:Android_SDK_built_for_x86_64 device:generic_x86_64
emulator-5554 device product:sdk_google_phone_x86 model:Android_SDK_built_for_x86 device:generic_x86
0a388e93      device usb:1-1 product:razor model:Nexus_7 device:flo
Then you need to copy the serial number of the device (for example emulator-5556) and use it as a parameter:
adb -s emulator-5556 shell screenrecord sdcard/my-multiple-devices-screen-recording.mp4
Download Screen Recording to Computer
When you have taken the screen recording, you might want to download it to your computer. Simply run these commands:
$ adb shell screenrecord sdcard/my-screen-recording.mp4

$ adb pull sdcard/my-screen-recording.mp4
sdcard/my-screen-recording.mp4: 1 file pulled, 0 skipped. 26.3 MB/s (7507465 bytes in 0.272s)
The screen recording will be downloaded to the folder that your terminal is currently running.