Taking Screenshots with adb
It is possible to take a screenshot of your Android application with Android Debug Bridge (adb) using these methods:
screencapcommandKEYCODE_SYSRQKeyEvent
1. screencap command
Basic Usage
- Connect your computer with an Android device via USB debugging or wireless debugging.
- Open a terminal in your computer and run this command.
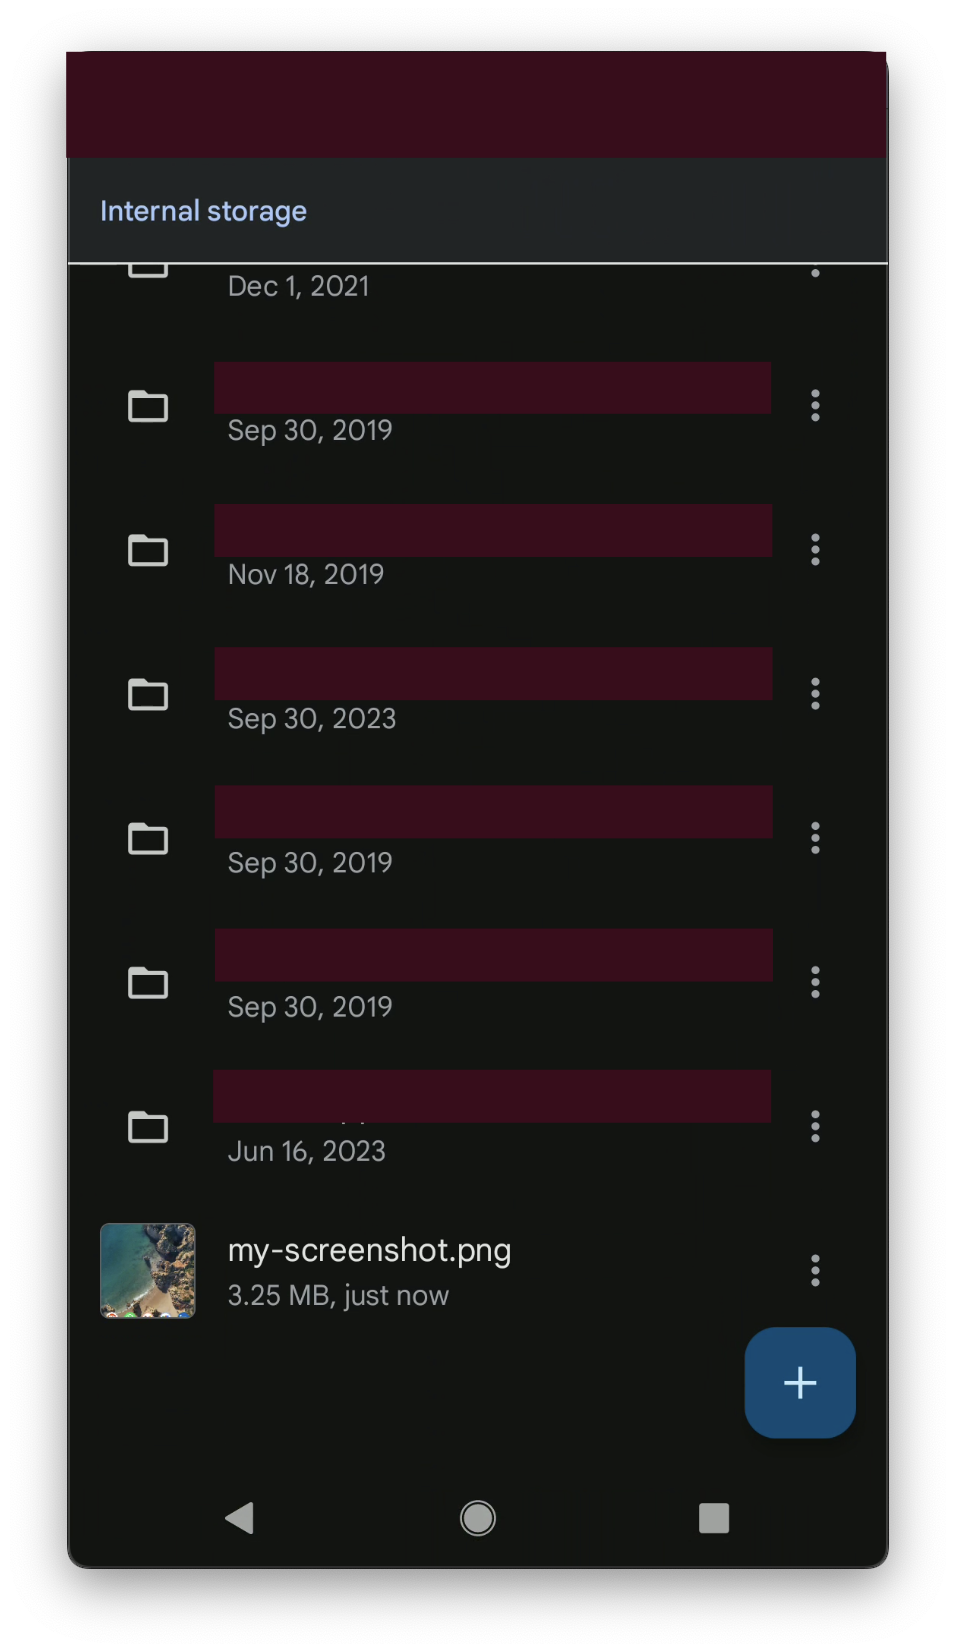
adb shell screencap sdcard/my-screenshot.png - This command will take a screenshot of your connected Android device and save it as a PNG file named
my-screenshot.pngin your Internal Storage. If there is already a file with that name, the file will be overwritten.
screencap only supports 1 image file type: PNG, so you should append .png to your saved file name.
View screencap Documentation
To learn what you can do with screencap, run this command:
adb shell screencap --help
# OR
adb shell screencap -h
You will get result similar to this:
$ adb shell screencap -h
usage: screencap [-hp] [-d display-id] [FILENAME]
   -h: this message
   -p: save the file as a png.
   -d: specify the physical display ID to capture (default: 0)
       see "dumpsys SurfaceFlinger --display-id" for valid display IDs.
If FILENAME ends with .png it will be saved as a png.
If FILENAME is not given, the results will be printed to stdout.
Multiple Connected Devices
If your computer is connected to multiple devices, you will encounter a problem when running the above command:
$ adb shell screencap sdcard/my-screenshot.png
adb: more than one device/emulator
You need to specify which device you want to take a screenshot of. First find out the serial number of the device by running adb devices:
$ adb devices
List of devices attached
emulator-5556 device product:sdk_google_phone_x86_64 model:Android_SDK_built_for_x86_64 device:generic_x86_64
emulator-5554 device product:sdk_google_phone_x86 model:Android_SDK_built_for_x86 device:generic_x86
0a388e93      device usb:1-1 product:razor model:Nexus_7 device:flo
Then you need to copy the serial number of the device (for example emulator-5556) and use it as a parameter:
adb -s emulator-5556 shell screencap sdcard/my-multiple-devices-screenshot.png
Download Screenshot to Computer
When you have taken the screenshot, you might want to download it to your computer. Simply run these commands:
$ adb shell screencap sdcard/my-screenshot.png

$ adb pull sdcard/my-screenshot.png
/sdcard/my-screenshot.png: 1 file pulled, 0 skipped. 3.2 MB/s (169632 bytes in 0.051s)
The screenshot will be downloaded to the folder that your terminal is currently running.
2. KEYCODE_SYSRQ KeyEvent
It is also possible to take a screenshot by inputting a KeyEvent with adb. The KeyEvent we need to do this is KEYCODE_SYSRQ (a constant value of 120).
- Connect your computer with an Android device via USB debugging or wireless debugging.
- Open a terminal in your computer and run this command.
adb shell input keyevent 120 - This command will take a screenshot of your connected Android device as if you are taking it directly from your device.